Summary :
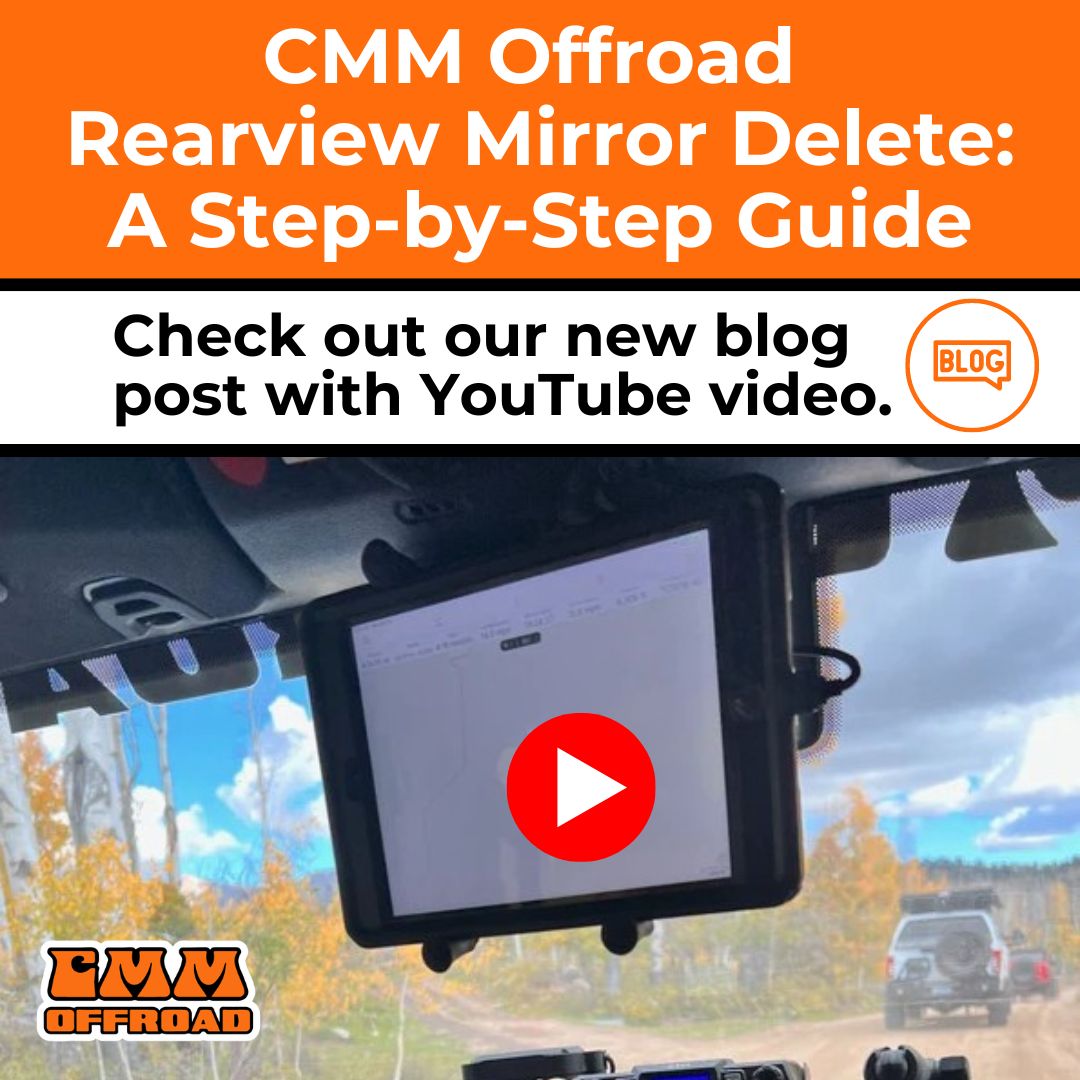
Video : CMM Offroad Jeep JL/JT Rearview Mirror (2018 - Current)
Understanding the Need for a Rearview Mirror Delete
In the world of off-roading, the rearview mirror can become more of a hindrance than a help.
When running rugged terrains, the view out the back is frequently blocked, making it difficult to
navigate safely. By replacing the rearview mirror with a mount for a device, you gain the ability
to utilize various navigation applications directly in your line of sight. This not only improves
visibility but also enhances your overall experience.
Tools and Materials Needed
Before diving into the installation process, these are the necessary tools and materials. Here’s
what you will need:
- Tools:
- Flat blade screwdriver
- T30 socket wrench
- Extension for socket wrench
-
Materials: - Replacement mount for your device
- Compatible charging cable for your device
- Factory hardware (bolts) from the original mount
Step-by-Step Installation Process
Now that you have everything you need, let’s go through the installation process step by step.
Step 1: Remove the Cover
The first step involves removing the cover that holds the rearview mirror in place. To do this:
1. Rotate the mirror to a position where you can see it clearly.
2. Using your fingers, gently pop loose the cover by applying pressure at the designated points: one on the left, one on the right, and one at the top.
Once you have released all clips, the cover should come off easily.
Step 2: Pop the Rearview Mirror Cover
Next, you need to access the plug for the mirror's dimming feature. Follow these steps:
1. Take a flat blade screwdriver and carefully insert it into the edge of the rearview mirror
cover.
2. Gently pry it loose until it pops off.
This will expose the wiring that connects to the dimming feature of the mirror.
Step 3: Remove the Top Hat
With the cover off, the next step is to remove the top hat component of the mirror mount.
1. Locate the flat blade top hat that secures the mirror in place.
2. Rotate it to disengage it from its position, allowing you to pull it out completely.
Be careful during this step to avoid damaging any surrounding components.
Step 4: Remove the Windshield Mount
Now, it’s time to remove the mount that is bolted to the windshield frame. This requires a T30
socket:
1. Use your T30 socket wrench to break loose the bolts holding the mount in place.
2. Carefully spin out the bolts and keep them in a safe place for reinstallation.
3. Once all bolts are removed, twist the mount counterclockwise to detach it from the windshield frame.
At this point, you should have successfully removed the factory mount.
Step 5: Install the New Mount
With the factory mount removed, it’s time to install your new device mount:
1. Position the new mount in the same location as the factory mount.
2. Using the factory bolts, secure the new mount tightly, ensuring it is stable.
This will provide a solid basis for your device, whether it’s an iPad or another navigation tool.
Step 6: Reattach the Cover
After securing the new mount, it’s time to reattach the cover:
1. Align the cover with the mount and press down until you hear the clips snap back into
place.
Your new mount is now securely in position, ready for use.
Step 7: Plug in Your Device
Now that everything is assembled, it’s time to plug in your device:
1. Connect your iPad or smartphone to the mount using a compatible charging cable.
2. Consider routing the cable neatly through the dash to avoid clutter.
Ensure that the device is secure and ready for navigation.
Pro Tips for a Smooth Installation
To ensure the installation process goes smoothly and efficiently, consider the following pro tips:
- Use the Right Tools: Always use the appropriate tools to avoid damaging components.
- Be Gentle: When prying off covers, apply gentle pressure to prevent cracking or breaking plastic parts.
- Check Compatibility: Ensure that your device mount is compatible with your specific model of Jeep.
- Wire Management: Take the time to route cables neatly to maintain a clean look inside your vehicle.
Feedback and Community Engagement
After completing the installation, let us know your thoughts. Community feedback can provide insights into different methods and enhancements. Consider the following:
- Share your installation photos and tips on forums and social media.
- Ask for advice on different mounts and accessories that others have found useful.
- Engage with others to share and get feedback.
Conclusion
Replacing the factory rearview mirror with a CMM Offroad device mount is a upgrade that will
help Jeep owners. By following the steps outlined in this guide, you can improve your visibility
and enhance your navigation capabilities. Remember to take your time during the installation
and enjoy the process of customizing your Jeep. Happy trails!

